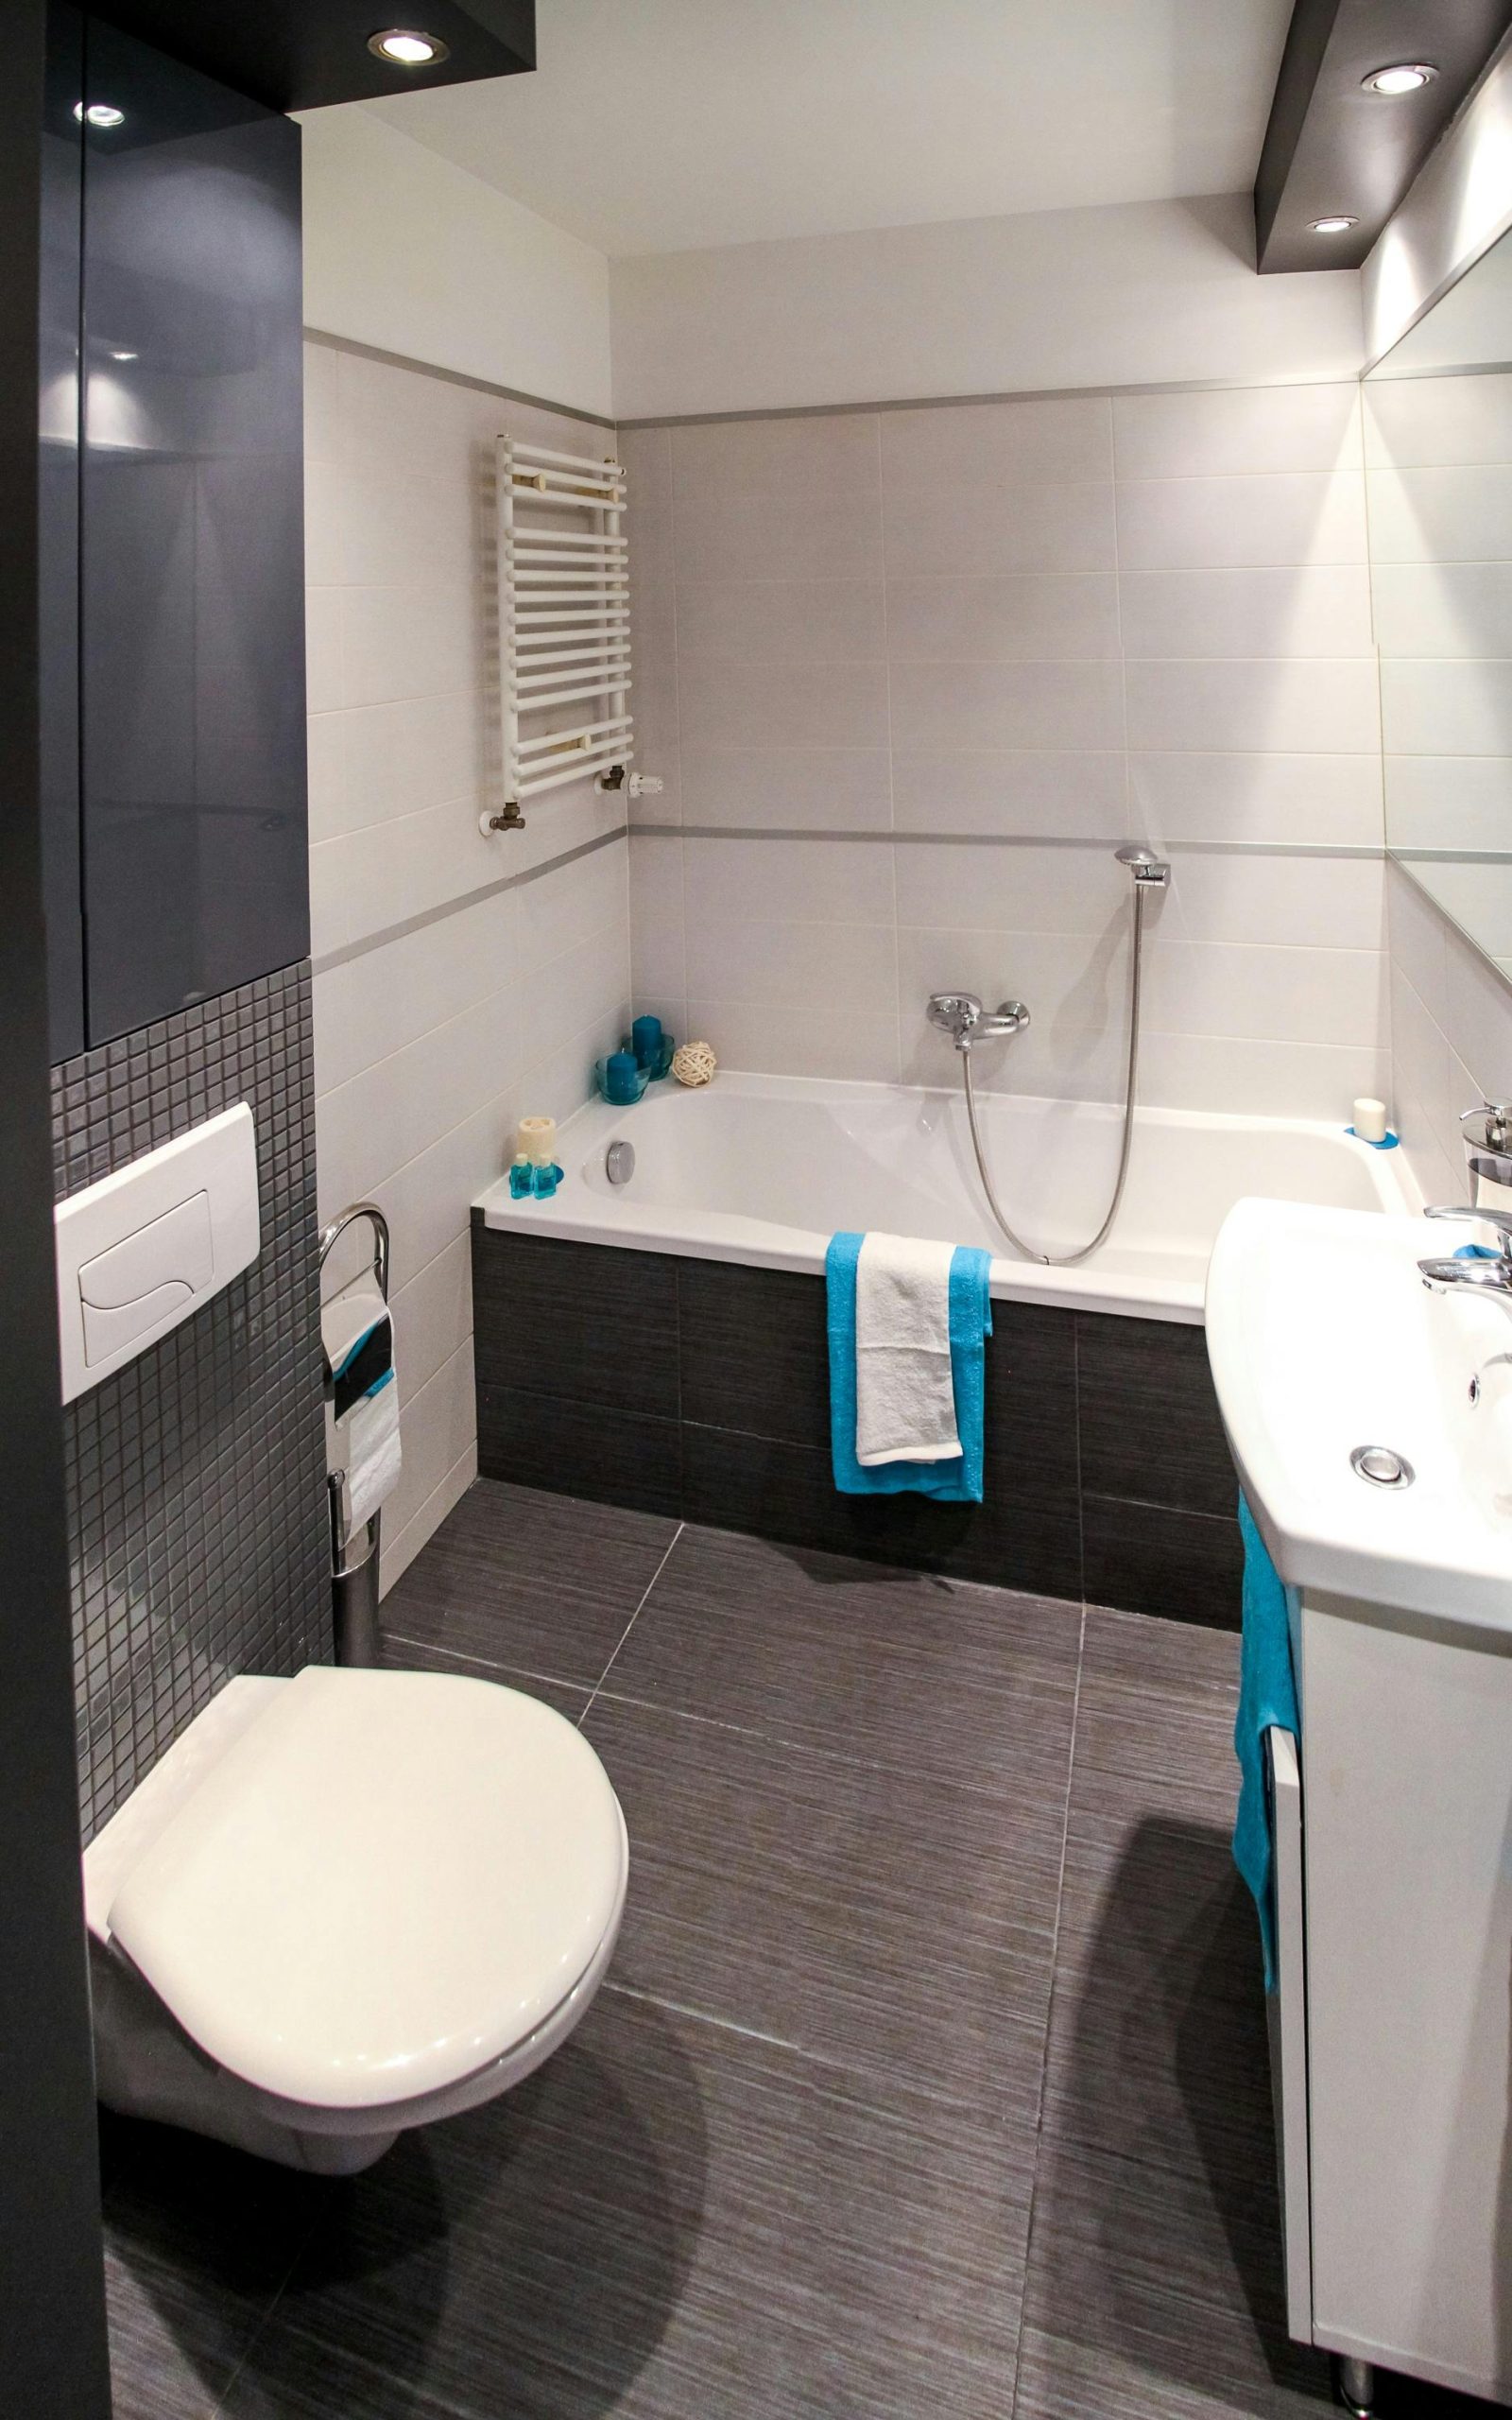
For homeowners and tenants alike, a clean and secure bathtub seal is essential for preventing water damage. Over time, caulk around a tub can crack, discolor, or peel away, leaving gaps that allow water to seep into walls or flooring. If you manage rental properties, this is an issue you’ll likely encounter frequently. For those working in Portland, Oregon, in property management, staying ahead of small maintenance tasks, such as caulk replacement, can save significant repair costs down the road. Here’s a step-by-step guide to replacing a worn-out caulk seal around a bathtub.
Step 1: Gather Your Supplies
Before starting, make sure you have all the necessary tools. You’ll need:
- A utility knife or caulk remover tool
- Painter’s tape
- A putty knife or scraper
- Rubbing alcohol or a mild cleaner
- A caulk gun
- 100% silicone bathroom caulk (mold- and mildew-resistant)
- Paper towels or rags
Having everything ready will make the job quicker and cleaner.
Step 2: Remove the Old Caulk
The first step is eliminating the old, damaged caulk. Use a utility knife or caulk remover to carefully cut along the edges of the caulk bead. Pull away as much as possible, then scrape away the remainder with a putty knife. Ensure the area is free of debris, soap scum, and old adhesive. A clean surface is essential for the new caulk to adhere properly.

Step 3: Clean and Dry the Surface
After removal, clean the joint with rubbing alcohol or a mild household cleaner. This step removes oils and residues that could prevent a tight seal. Allow the area to dry completely—moisture trapped under caulk can lead to mold and mildew growth.
Step 4: Prepare with Painter’s Tape
To achieve a professional-looking finish, apply painter’s tape along both sides of the joint where you’ll apply the new caulk. This creates a neat line and prevents excess caulk from spreading onto the tub or tile.
Step 5: Apply the New Caulk
Cut the tip of the caulk tube at a 45-degree angle for better control. Using a steady hand, apply a continuous bead of silicone caulk along the seam between the tub and the wall. Ensure the bead completely fills the gap.
Step 6: Smooth the Caulk
Use a caulk finishing tool or your finger (dipped lightly in water) to smooth the bead, pressing it into the joint for maximum adhesion. Remove the painter’s tape before the caulk begins to skin over for a sharp, clean edge.

Step 7: Let It Cure
Most silicone caulks require 24 hours to cure completely. During this time, avoid using the bathtub or shower to ensure a watertight seal.
Why This Matters for Property Managers
For those in Portland, Oregon, property management professionals should always include a check of bathroom seals in routine inspections. Neglecting a simple caulk replacement can lead to water damage, mold issues, and costly repairs—problems that are much more difficult to resolve than a quick DIY maintenance fix.
By keeping caulk seals in good condition, landlords and managers can extend the lifespan of bathroom fixtures, enhance tenant satisfaction, and lower long-term maintenance costs.
If you’re tired of managing your rental property yourself we can help! Our property management team saves busy owners hundreds of hours per year and the hassle of DIY property management. Learn more about us by calling (503) 646-9664 – Talk to a Live Person – Our office answers the phone 9 AM to 5 PM Monday through Friday – or click here to connect with us online.


